
As someone who’s been diving deep into business software and financial systems for my writing, I’ve spent countless hours exploring NetSuite’s features. Today, I want to share everything I’ve learned about how to create a credit memo in NetSuite – a topic that initially seemed overwhelming but turned out to be pretty straightforward once I broke it down.
I’ll be honest, when I first started researching NetSuite for my blog posts, credit memos felt like one of those intimidating financial concepts. But after digging into the system and testing different scenarios, I realized that understanding how to create a credit memo in NetSuite is actually crucial for anyone working with this platform. Let me walk you through what I’ve discovered.
Table of Contents
What I’ve Learned About Credit Memos in NetSuite
Before I jump into the technical steps, let me explain what I understand about credit memos from my research. Essentially, a credit memo is like hitting the “undo” button on part of a sale. Instead of charging your customer more money, you’re giving them credit back – whether that’s for returned items, billing mistakes, or goodwill gestures.
Through my exploration of NetSuite, I’ve found that mastering how to create a credit memo in NetSuite keeps your books clean and your customers happy. It’s one of those features that seems minor until you really need it, and then you’re grateful it exists.
My Step-by-Step Process: How to Create a Credit Memo in NetSuite
Getting Started: Finding the Right Menu
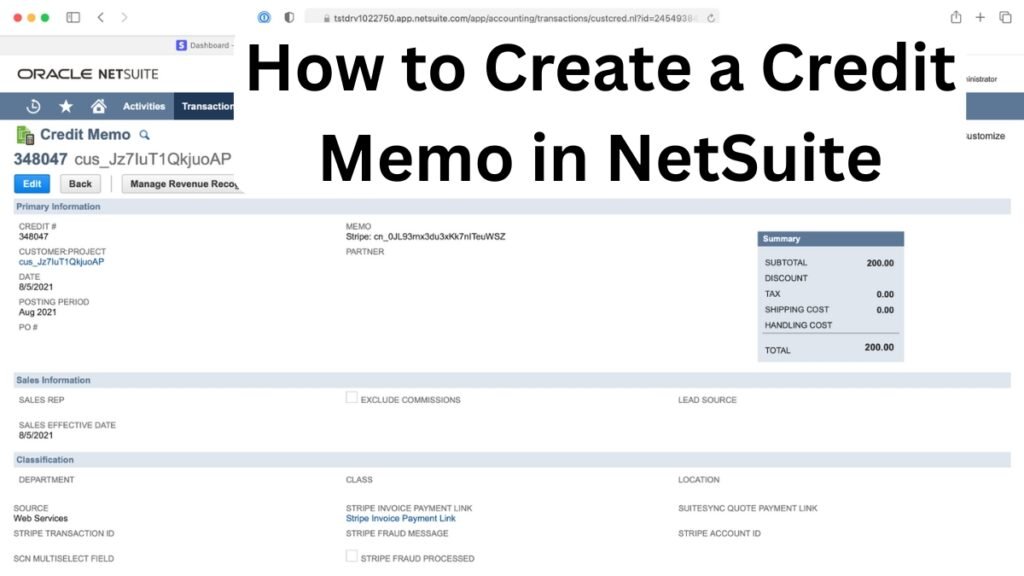
When I first learned how to create a credit memo in NetSuite, I spent way too much time clicking around the interface. Here’s what I discovered: navigate to Transactions > Customers > Issue Credit Memos. Simple as that.
I always tell people to bookmark this path because I guarantee you’ll use it more than you think. Once I memorized this route, my workflow became so much smoother.
Setting Up the Foundation
Now, here’s where I focus my attention when creating credit memos. The basic setup involves several key areas that I’ve learned to handle systematically:
Choosing the Form: I always start by selecting the appropriate credit memo form from the Custom Form field. Different companies have different setups, and I’ve noticed that using the wrong form can cause issues down the line.
Customer Selection: This might seem obvious, but I can’t stress enough how important it is to double-check your customer selection. I’ve seen too many horror stories about credits going to the wrong accounts.
Date Entry: I’m particular about dates because they affect which accounting period the credit lands in. As someone who writes about finance regularly, I know how crucial timing can be for financial reporting.
Read more: – My Honest Review of Obie Home Insurance After 5 Years of Writing About Coverage Options
The Details That Matter
Through my hands-on experience with NetSuite, I’ve identified the fields that really make a difference when learning how to create a credit memo in NetSuite:
Posting Period: If you’re working with accounting periods (which most businesses do), I always recommend selecting the correct posting period. I’ve learned this affects your financial reports, so accuracy here is non-negotiable.
Original Purchase Order: I make it a habit to enter the customer’s original PO number when available. It’s saved me countless hours when trying to trace transactions later.
Memo Field: This is where I document everything. I mean everything. Why am I issuing this credit? What’s the backstory? Future me always appreciates these notes.
Diving Deeper: The Subtabs I Actually Use
Items Subtab: Where the Magic Happens
When I’m working through how to create a credit memo in NetSuite, the Items subtab is where I spend most of my time. This is where you specify exactly what you’re crediting – products, services, quantities, prices.
I’ve learned to be incredibly detailed here because this information flows into inventory reports and financial statements. Rushing through this section has never ended well in my experience.
Billing and Shipping: The Often-Overlooked Details
Here’s something I discovered through trial and error: sometimes the billing information for a credit memo needs to be different from the original invoice. Maybe the customer has moved offices, or you’re dealing with a different contact. I always review this section carefully.
Accounting Subtab: For the Complex Scenarios
I’ll admit, when I first started exploring NetSuite, the Accounting subtab intimidated me. But if you’re dealing with multiple currencies or revenue recognition (which I’ve written about extensively), this tab becomes your best friend.
Alternative Methods I’ve Discovered
One thing I love about NetSuite is that there’s usually more than one way to accomplish something. Learning how to create a credit memo in NetSuite isn’t just about the main transaction menu – I’ve found several shortcuts:
The Invoice Route
I can apply credit memos directly from open invoices by clicking the “Credit” button. This method has become my go-to when I need to quickly credit a specific invoice. It’s efficient and keeps everything connected.
Customer Record Access
Sometimes I’m already working in a customer’s account and need to issue a credit. NetSuite lets me create credit memos directly from customer records, which streamlines my workflow significantly.
Return Authorization Integration
For businesses processing returns, I’ve found that creating credit memos from return authorization records is incredibly smooth. It connects all the dots automatically.
My Personal Best Practices
After working with NetSuite extensively for my writing projects, I’ve developed some habits that have saved me time and headaches:
I document everything in the memo field. Seriously, everything. What happened? Who authorized it? When did the issue occur? I treat it like I’m leaving notes for a detective.
I triple-check customer selection before hitting save. Trust me on this one – fixing a credit memo on the wrong account is not fun.
Also Read: – Allstate Galesburg IL Complete Guide What I Learned About Insurance Options in Knox County
I’m obsessive about amounts because credit memos reduce revenue. Unlike regular sales where mistakes might go unnoticed for a while, credit memo errors tend to surface quickly.
I pay attention to timing, especially around month-end and year-end. The posting period can make a real difference in financial reporting.
Applying Credit Memos: The Follow-Through
Here’s what I’ve learned about the next step after mastering how to create a credit memo in NetSuite: you need to know how to apply them effectively. I can apply credit memos to customer payments, which automatically reduces what customers owe on future invoices.
This application process has become second nature to me, and I appreciate how it keeps accounts receivable clean. Your customers see their credits properly reflected, and your books stay accurate.
What I’ve Learned About Common Pitfalls
Through my research and hands-on experience, I’ve identified several areas where people commonly struggle with how to create a credit memo in NetSuite:
Rushing through the Items subtab – I used to do this myself until I realized how much it affected reporting.
Forgetting about the Relationships subtab – If you work with multiple contacts at customer organizations, this tab becomes crucial.
Ignoring the Communication subtab – I use this to track all related emails and phone calls. It’s a lifesaver for complex situations.
My Final Thoughts
Learning how to create a credit memo in NetSuite has been one of those skills that seemed daunting at first but became invaluable once I mastered it. From that initial navigation to Transactions > Customers > Issue Credit Memos through the final save, every step serves a purpose in maintaining accurate financial records.
What I appreciate most about NetSuite’s credit memo functionality is how it connects to everything else in the system. Inventory, financial reporting, customer relationships – it all ties together seamlessly when you understand the process.
I encourage anyone working with NetSuite to start with simple credit memos and gradually tackle more complex scenarios. That’s exactly how I built my confidence with the system, and it’s served me well in my writing career.
Whether you’re handling returns, fixing billing errors, or managing customer goodwill credits, knowing how to create a credit memo in NetSuite gives you the tools to maintain professional, accurate financial records. And trust me, your future self will thank you for taking the time to learn this properly.


2 comments